
In this series of posts in the journey to set up LAMP server using Ubuntu 20.04 LTS, Apache 2.4, MySQL 8, and PHP 7.4, we’ll assume the some of the following fictional names:
- Server Name, short hostname:
stormlight - Fully Qualified Hostname:
www.stormlight.com - User Name:
dalinar - IP address:
111.111.111.111
These are 100% made-up user, domain and host names. This also assumes you have installed Linux Ubuntu on a box somewhere and have ssh access to it in a bash or zsh supported terminal.
Further, this assumes you have basic knowledge of how to use a text editor in your terminal. We’ll be using nano here to keep things simple.
Lastly, this basic installation tutorial is the foundation for getting your server operational and secured. It is not a complete setup guide.
Step 1: Hostname
First set up your hostname for the server. Type the following in your terminal.
echo "stormlight" > /etc/hostname
hostname -F /etc/hostname
hostname
After typing hostname on the last line, you should see stormlight printed back to you in the terminal.
Step 2: Set the FQDN (fully qualified domain name)
Get your IP address for the server
hostname -i
Now edit the hosts file:
nano /etc/hosts
Add your IP address and FQDN at the bottom of the file. I added everything at the bottom starting with ## Server Host Info and ended up with something like this:
127.0.0.1 localhost

# The following lines are desirable for IPv6 capable hosts
::1     ip6-localhost ip6-loopback
fe00::0 ip6-localnet
ff00::0 ip6-mcastprefix
ff02::1 ip6-allnodes
ff02::2 ip6-allrouters

## Server Host Info
111.111.111.111 stormlight.com stormlight
Let’s look at the three parts to the entry we’re making in the /etc/hosts file:
| IP Address | FQDN | Hostname |
| 111.111.111.111 | stormlight.com | stormlight |
Step 3: Set the Time
Set the timezone on your server by typing the following in the terminal:
dpkg-reconfigure tzdata
After you press enter, you should see a tzdata UI that walks you through questions about the information needed to set up your server.
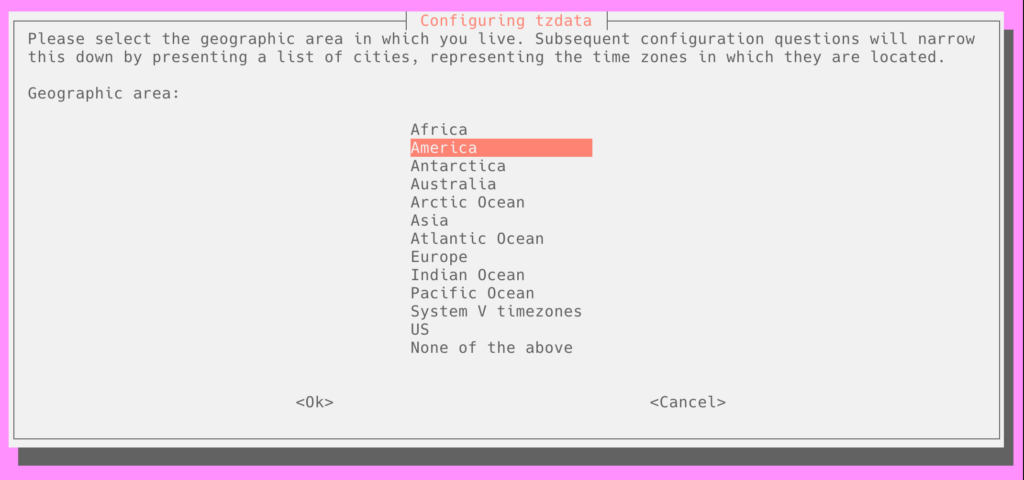
I set stormlight up for America/Chicago and then received the following output upon success:
Current default time zone: 'America/Chicago'
Local time is now:      Tue Jul  6 11:05:05 CDT 2021.
Universal Time is now:  Tue Jul  6 16:05:05 UTC 2021.
You can double check the above by typing date in your terminal. You should get day-date-time-tz information relevant to your settings and when you’re actually setting up your server.
Tue 06 Jul 2021 11:06:57 AM CDTStep 4: Updates and Upgrades
Like we mentioned at the beginning of this tutorial, this basic installation piece is the foundation for getting your server operational and secured. It is not a complete setup guide. It’s the first part.
sudo apt update
sudo apt upgrade
apt update
This fetches the latest versions of packages installed or available to your Ubuntu server.
apt upgrade
This installs the latest version of any of the packages fetched with update.
Next we’ll set up some basic security settings and then move on to some more advanced security features.